
Elgato 4K Capture Utility is a recording application designed for compatible Elgato capture cards, allowing users to capture gameplay, console footage, and other HDMI video sources. However, if you want more recording flexibility, customizable scenes, and advanced audio controls, OBS Studio is a popular alternative. In this guide, you’ll learn why OBS is worth considering, how to set it up, and how to troubleshoot common problems.
1. Why Use OBS Instead of Elgato 4K Capture Utility?
OBS Studio offers several advantages for gameplay recording:
- Free and open-source: Download and use OBS without paying for a software license.
- Flexible recording options: Adjust resolution, frame rate, encoder, and recording quality.
- Multiple sources: Combine capture-card footage with webcams, microphones, images, and overlays.
- Advanced audio controls: Manage multiple audio sources and adjust their levels independently.
- Streaming support: Record gameplay locally or stream to supported platforms.
- Flexible Scene Layouts : Customize your recording layout to combine gameplay, commentary, and other content.
Elgato 4K Capture Utility remains useful for users who prefer a dedicated application for their capture card. However, OBS is a strong alternative when you want more customization and control over your recording workflow.
2. How to Use OBS Instead of Elgato 4K Capture Utility?
Follow these steps to configure OBS for recording gameplay through a compatible Elgato capture card.
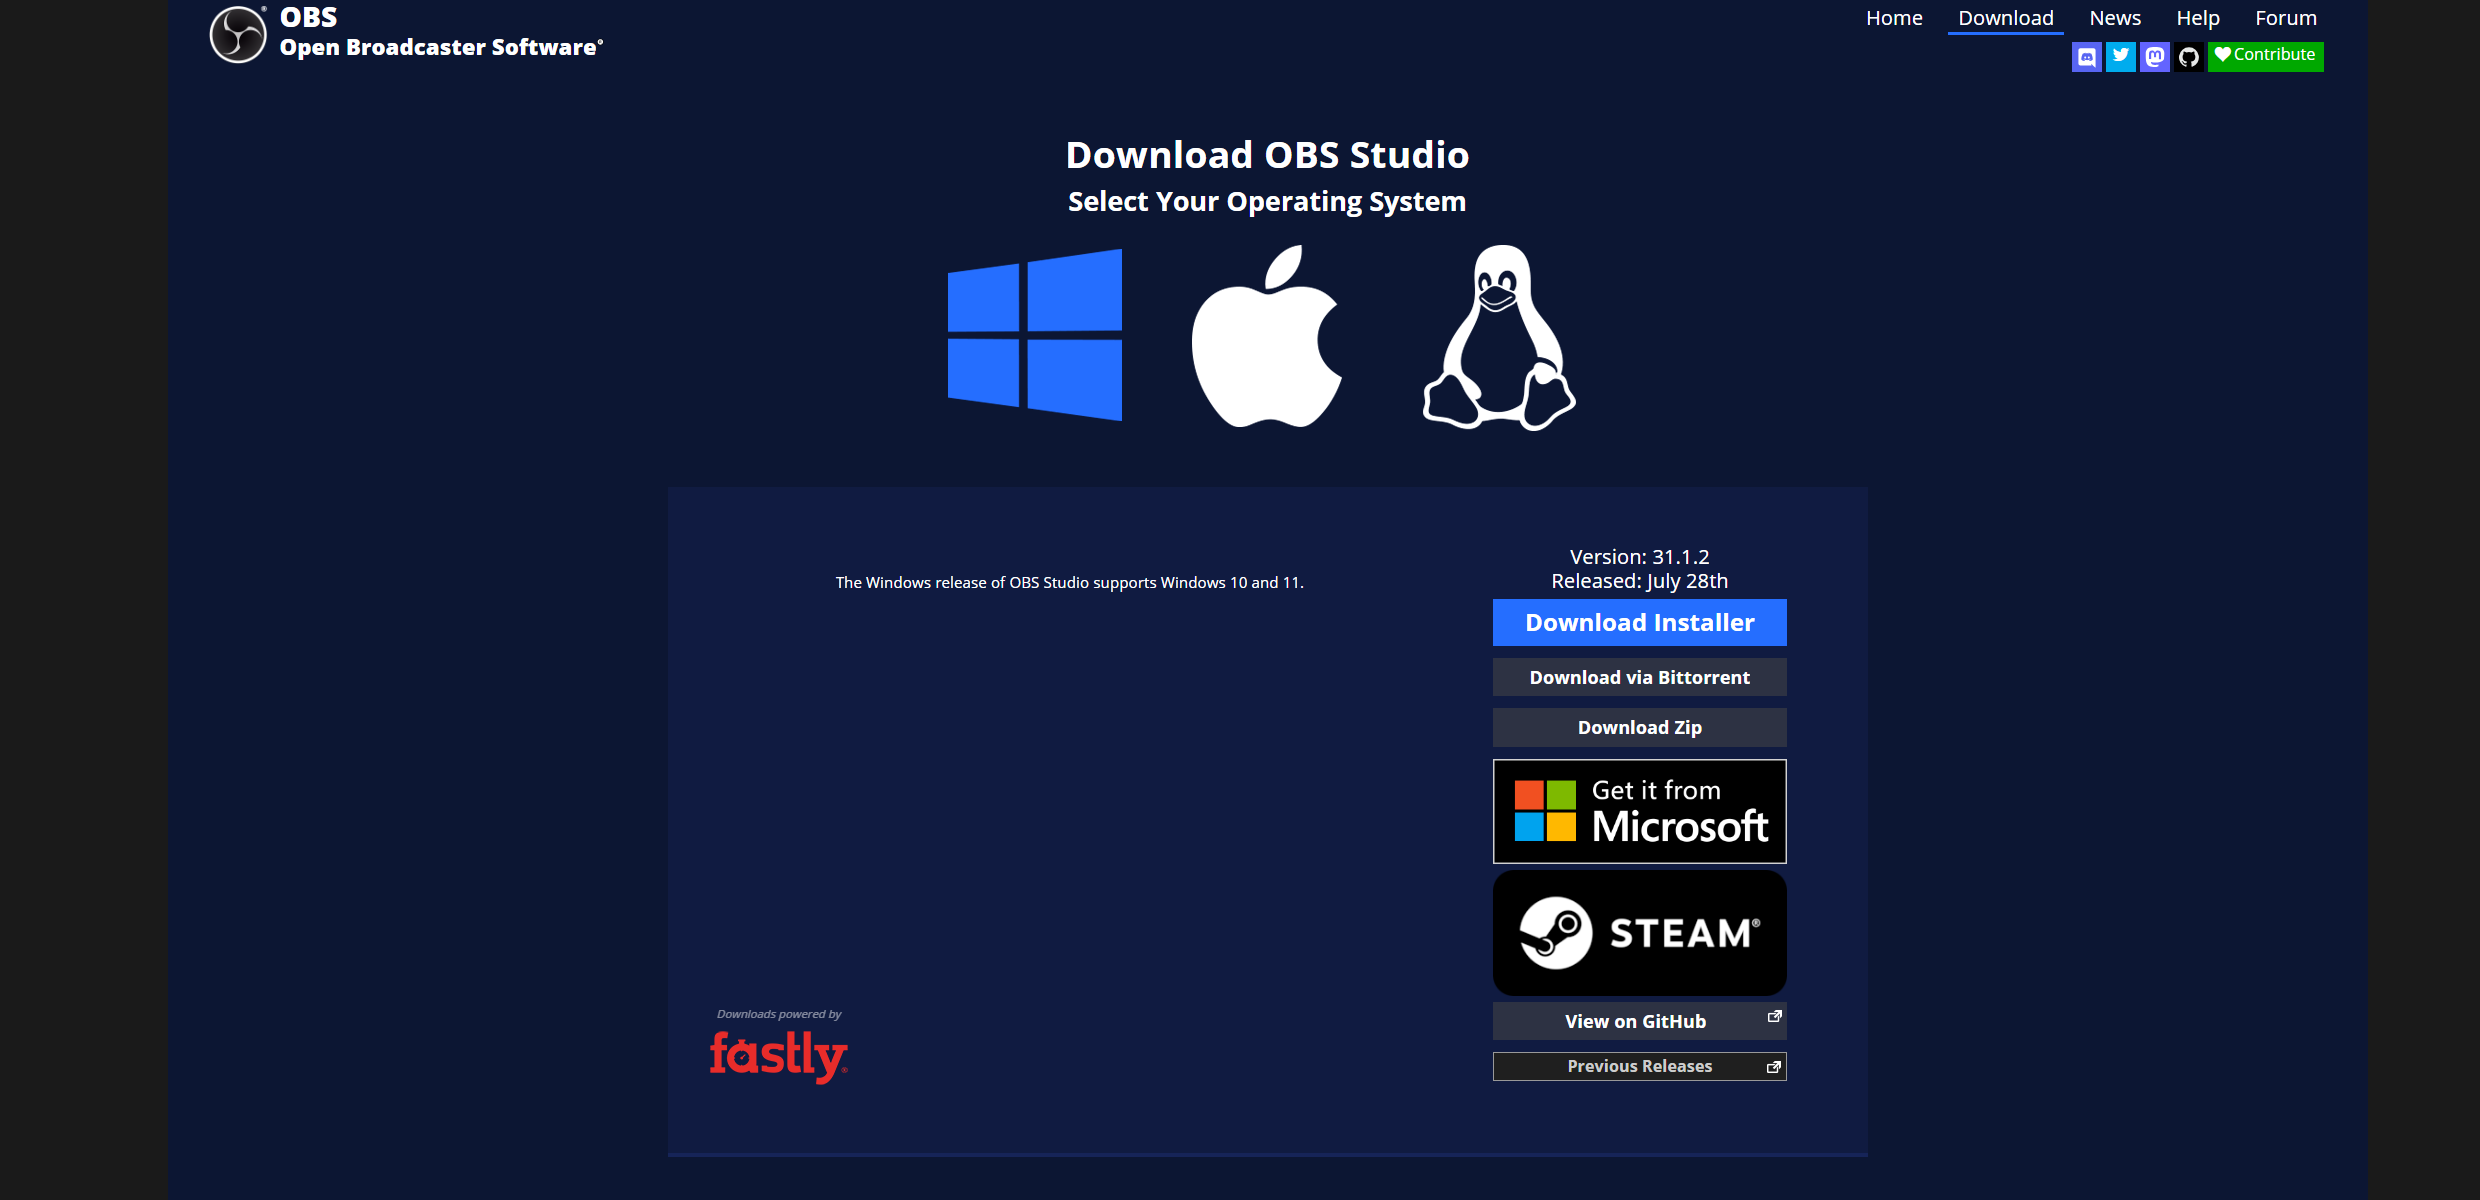
Step 1: Install and Open OBS Studio
Download OBS Studio, then install and launch it on your computer.
Before proceeding, connect the Elgato capture card to your computer, then connect your console, camera, or other HDMI device following the manufacturer’s instructions.
Step 2: Add Your Elgato Capture Card to OBS
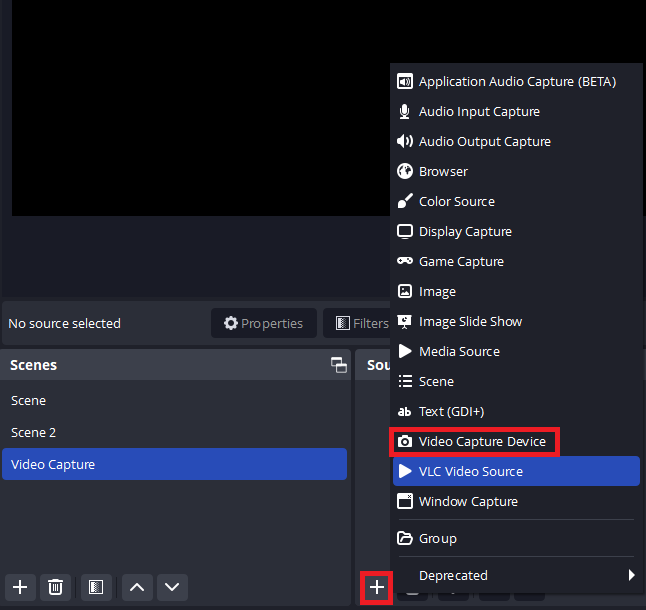
- In OBS, locate the Sources panel at the bottom of the window, then click the + button and select Video Capture Device.
- Choose Create New, enter a name such as
Elgato Capture, and click OK. - In the Device dropdown, select your Elgato capture card.
- If necessary, set Resolution/FPS Type to Custom, then choose a supported resolution and frame rate, such as 1920 × 1080 at 60 FPS.
- Click OK and check whether the video appears in the preview.
Step 3: Configure Audio
To record both the video and its sound:
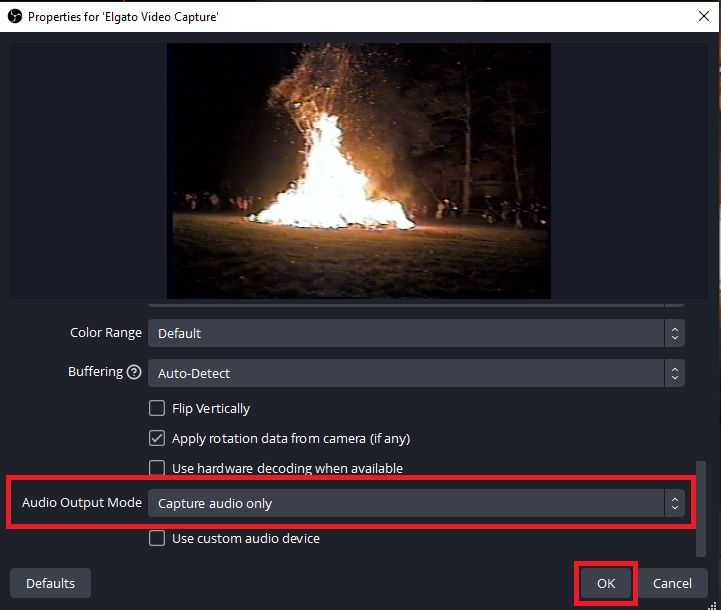
- Open the capture card’s properties by double-clicking its source.
- Find the Audio Output Mode option, if available, and choose the appropriate audio output or capture setting.
- In OBS’s Audio Mixer, play audio from your source and check whether the capture card’s audio meter responds.
- If you cannot hear or record the sound, open the source properties and check the audio settings. You may also need to add an Audio Input Capture source for a microphone.
Avoid capturing the same audio through multiple sources, as this can cause echo or duplicated sound.
Step 4: Set Recording Quality
Go to Settings → Video and configure the resolution and frame rate.
Suggested starting settings:
| Setting | Recommended starting point |
|---|---|
| 기본(캔버스) 해상도 | 1920 × 1080 |
| 출력 해상도 | 1920 × 1080 |
| 일반적인 FPS 값 | 60 |
| 녹음 형식 | MKV |
| 인코더 | Hardware encoder, if available |
Next, open Settings → Output → Recording to adjust the recording path, encoder, and quality. MKV is a good default because it is more resilient if a recording is interrupted; you can remux it to MP4 through OBS afterward.
If your capture card supports 4K, you can use 3840 × 2160 when your device, input signal, and PC support it. For smooth 4K recording, choose a suitable hardware encoder and quality setting.
5단계: 녹음 시작
- Make sure your capture card video and audio are working.
- Resize the capture source to fit the OBS canvas. Right-click it and select Transform → Fit to Screen if needed.
- Click Start Recording in the OBS Controls panel.
- Play your game or video.
- Click Stop Recording when finished. The recording will be saved to your configured output folder.
3. Common Problems When Replacing Elgato 4K Capture Utility
| Problem | What to try |
|---|---|
| No signal | Check HDMI connections, input resolution, and whether the capture card is detected. |
| Black screen | Close 4K Capture Utility and other applications that may be using the capture card, then reactivate the source in OBS. |
| No audio | Check the capture card’s audio settings and OBS Audio Mixer. |
| Blurry or low-quality video | Set the source resolution and FPS manually to match the incoming signal. |
| Washed-out HDR footage | Check HDR compatibility and whether the card is outputting HDR to OBS. |
4. Bonus: Record Gameplay More Easily with Swyshare Recordit
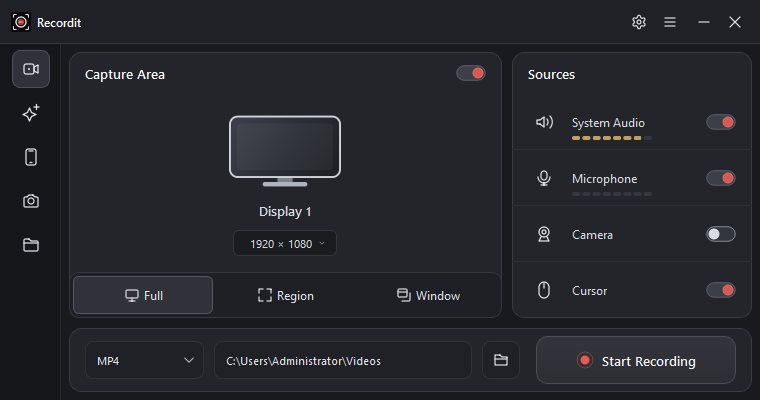
Although OBS offers extensive customization, its many settings and source controls can feel complicated for beginners. If your primary goal is to record gameplay or capture on-screen activity without spending much time configuring scenes, Swyshare Recordit is another tool worth considering.
주요 특징 Recordit to record gameplay:
- High-FPS Recording : Capture smooth gameplay footage.
- Flexible Screen Capture : Record the full screen, a window, or a selected area.
- 오디오 녹음 : Capture system audio and microphone commentary.
- 인스턴트 리플레이 : Save recent gameplay highlights.
- Custom Hotkeys : Start and stop recording quickly.
- Multiple Output Formats : Export recordings in supported formats, including MP4 and GIF.
- Built-in Video Editor : Trim clips, adjust resolution, and add watermarks or backgrounds.
5. 결론
OBS Studio is a capable alternative to Elgato 4K Capture Utility, offering flexible recording settings, multiple video sources, advanced audio controls, and streaming capabilities. By adding your Elgato capture card as a Video Capture Device and configuring the video, audio, and output options, you can create a customized gameplay recording workflow.
However, OBS’s extensive settings may be more than you need if you simply want to capture on-screen activity. In that case, Swyshare Recordit is worth considering for a simpler recording experience. Its straightforward workflow can make everyday screen recording more convenient without requiring you to manage complex scenes.